
Blank walls can seem intimidating at first, but armed with some good ideas, a few pretties, and a hammer and nails, you too can have beautiful, meaningful, and even useful(!) wall decor.
So without further ado, here are 5 different ways that we have filled our walls.
1. Large Scale Photography
Yes, I'm going there. BIG. Big seems expensive, right? Wrong! [Well, it can be, but it certainly doesn't have to be.] There's this
Total project cost: $10

2. Small Groupings
I think this is one of my favorite ways to display photos... in small groupings that tell a story or show off related items. Here we have four prints from our wedding... two portraits and two detail shots. I love how it shows how we looked on our wedding day. The gold frames are leftover from our wedding and were from the Dollar Tree.
Total project cost: $5


3. Gallery Walls
The ever famous gallery wall! All the frames and objects used in our gallery wall are thrifted or Dollar Tree purchases. You would be surprised what sweet frames you can find for a dollar at thrift stores! I'll be doing a more in-depth post on some gallery wall how-tos and tips I learned along the way, but until then, start collecting frames, photos, and special cards or prints. Or just go ahead and do it! My biggest take-away was that it doesn't have to be perfect, because let's be real, I don't have 10 hours to measure everything out and cut templates. That's what the back of your hammer is for.
Total project cost: $15

4. Miscellaneous Decor
Here's a way that you can get really fun and creative with your walls! Ribbons, lights, chalkboards... the sky is the limit here, people. Have something you love that's semi-flat and hangable? Put it up on a wall! See what it looks like. Take risks!
Ribbon backdrop [from our wedding] total cost: $45


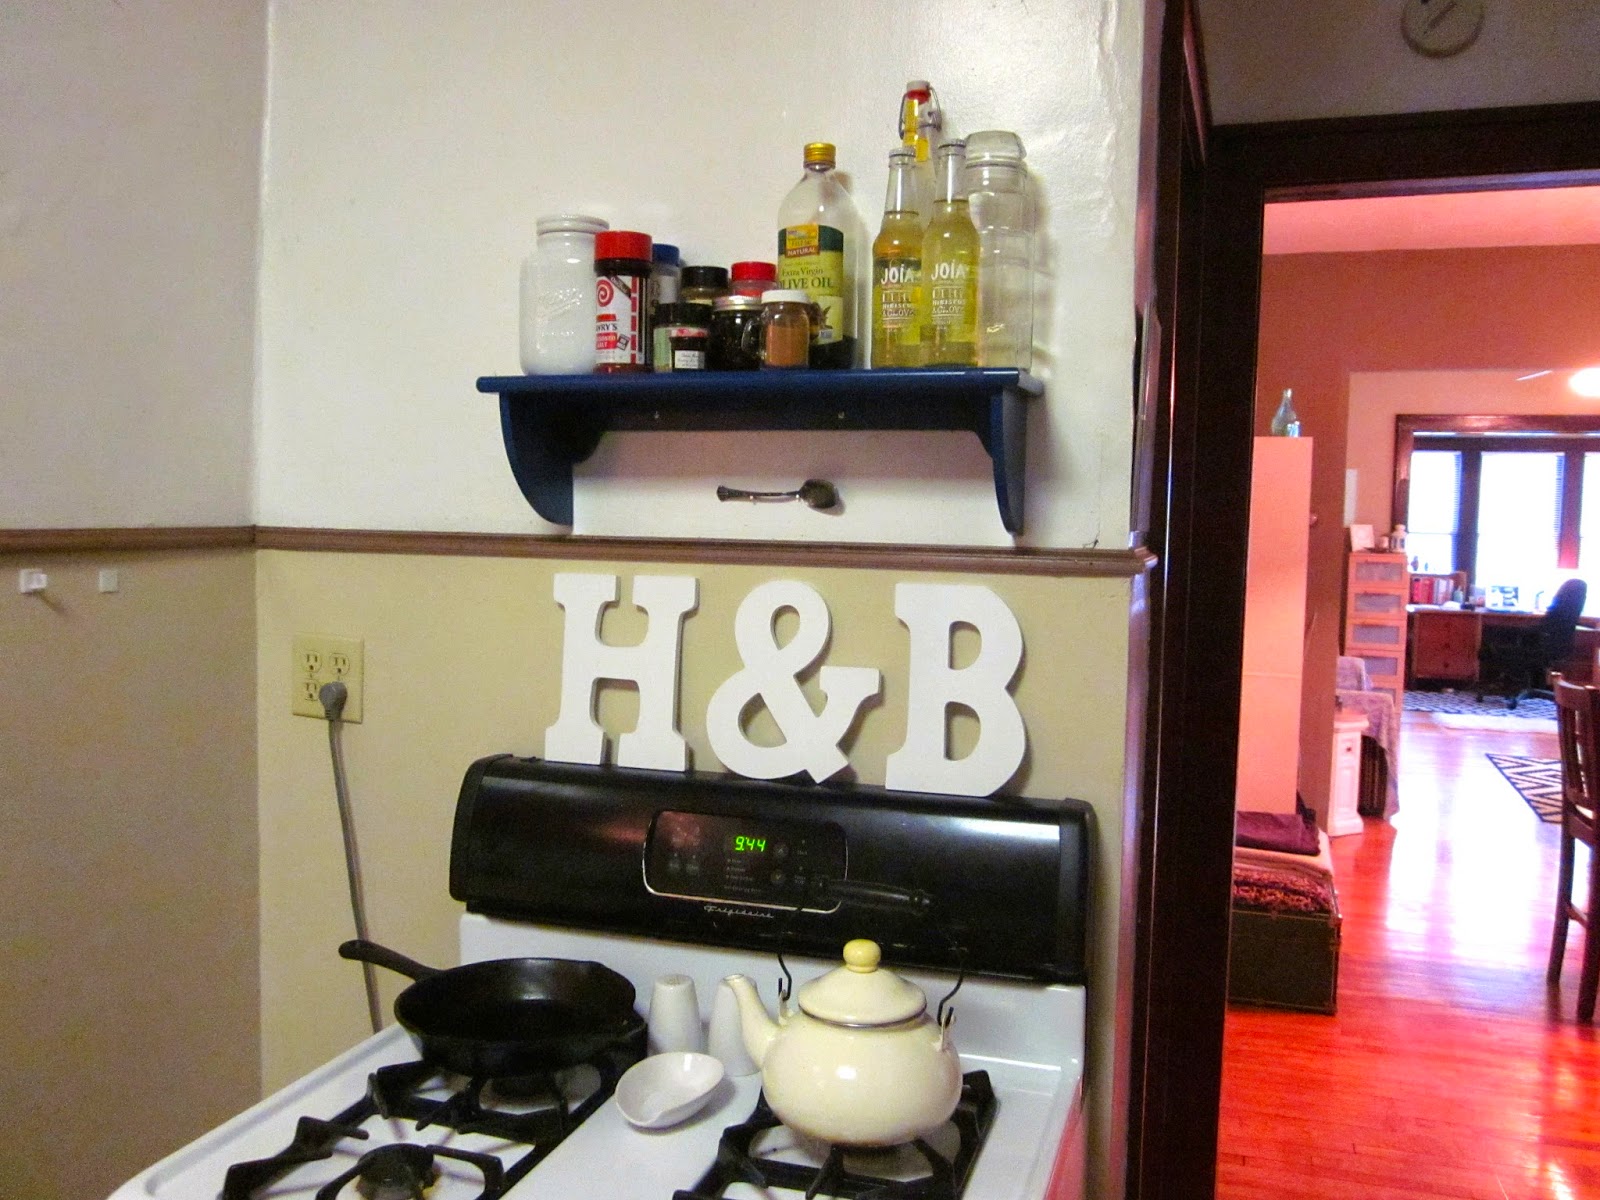
5. Shelves & Storage
Last, but not least, let's talk about killing two birds with one stone in your wall decor. Have an empty wall that also happens to be near a place where some extra storage would be handy? Great! Add a shelf or other type of storage in lieu of a pretty picture or painting. For weeks I was trying to decide what kind of wall hanging I wanted above our stove. Then I realized we had this extra shelf and it makes for AMAZING storage in a place where we really needed it [and didn't even know it]. Plus, the shelf fills in the space and adds some color and pattern to the once blank wall. Win-win! The mason jar holder is from Target and was a wedding gift, and the mail/key holder was made and gifted to us by Loverboy's sister for our wedding as well.


So, there you have it! Five different ways that you can fill up those empty walls that have been staring you in the face the last weeks, months, or years. Decorating your walls doesn't have to be expensive or intimidating... you just have to get started. So grab your hammer, and get to it!

OOOOO I love this! I love your ribbon garland sooo much I may have to borrow your idea! <3
ReplyDeleteGo for it, Taylor! It's super easy! We also got our ribbon on sale, which was helpful, because it really does add up fast! :)
Delete